This module is intended for image preprocessing.
It is commonly used to scale down images to reduce processing times/memory usage, cropping pictures to avoid defect detection outside ROIs (Regions of Interest), and other examples mentioned below.
The following modifications are available in this module:
Cut
Cut lets you crop the image manually from all four sides.

Scale
Scale lets you adjust the resolution of the image.

Rotation
You can rotate all images by a specified angle.

Background normalization
Background normalization serves for unifying colors.

Blur
This function blurs the picture and reduces noise. Details in the OpenCV documentation.

Canny Edge Detector
Canny edge detector focuses only on the edges of the objects. You can set the Threshold value to highlight the edges. Details in the OpenCV documentation.

Remove background
Remove background function can help you with focusing only on the main object. Offers two types of background removal (histogram and canny), and each can be useful for different kinds of images. The ‘Canny background removal’ uses canny edge detector, dilation, and erosion.

Unifier
Unifies the position and angle of objects or just puts the angle of the object into Context (if this option is ticked). Remove background that needs to be used before Unifier and have the same background color selected.

Contrast equalisation
Equalises the contrast using the CLAHE algorithm, which works with a histogram of a pixel and its surroundings (depending on the kernel size). The clip limit determines the value at which the histogram is clipped. Details in the OpenCV documentation for CLAHE and histogram equalisation.

Dilation
Can be used to expand light shapes found in the input image. Details in the OpenCV documentation for dilate and morphological transformations.

Erosion
Can be used to reduce light shapes found in the input image. Details in the OpenCV documentation for erode and morphological transformations.

Polar transform
Finds the biggest circle in the image (found circle can be seen in the left image showing the ‘Stage 1’ layer of polar transform), then transforms it using polar coordinates. ‘Minimal distance between circles’ can be used to adjust how many circles will be found by defining a minimum distance that needs to be between their centers. The ‘inverse ratio of the accumulator/image resolution’ is used to adjust accumulator resolution (the lower the ratio, the higher the accumulator resolution). Details in the OpenCV documentation for Hough circles and polar warp.

Color space transform
Converts the image into a different color space (HLS, HSV, YUV, LAB, or GRAY). Details in the OpenCV documentation.

Adjust gamma
This function lets you adjust the gamma value.

Camera calibration
This function can be used to remove some camera-related distortions of the image.
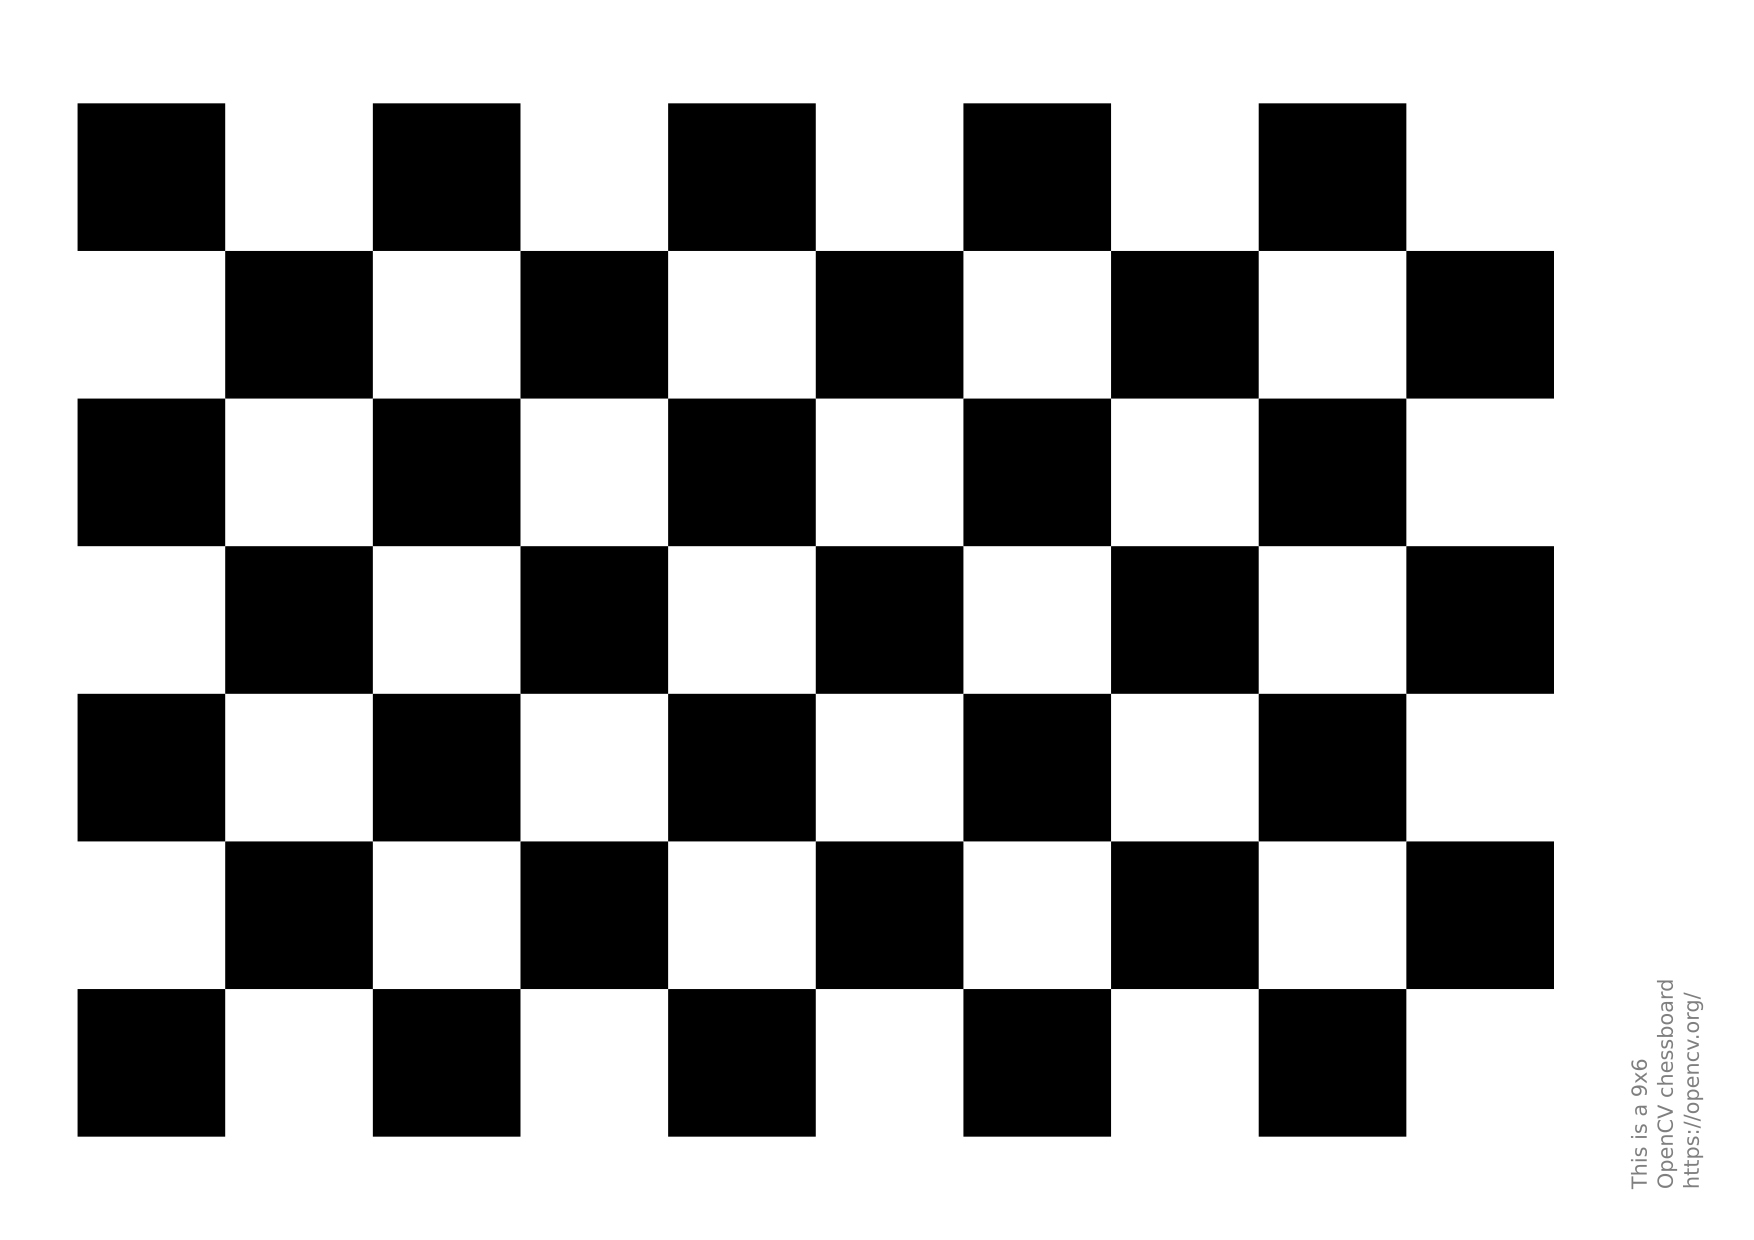
It uses a calibration pattern, which needs to be photographed by the camera that we are going to use for inspection and at the position where the inspected objects will be. This pattern can be downloaded from the OpenCV website and then printed out to place at the inspection site. When we make a photo of this pattern with our camera, we select it as the template image, and then all images will be transformed in the same way.

The Calibration subfunction removes the “fisheye” effect (straight lines of the pattern look curved outwards to the edges of the image), and the result of the transformation on our sample image looks like this:

The Perspective transform performs a transformation of the image in a way that the pattern will end up looking as if it's placed perpendicular to the camera (correction for situations where the inspection plane is somehow tilted in relation to the camera).

Kernel size
Some transformations use a parameter called ‘Kernel size’, which determines the size of the matrix of surrounding pixels, which are taken into consideration when computing the transformation in a given pixel.
It is usually better to use odd numbers for the kernel size, so that the neighborhood of pixels is symmetric around the middle.
The standard values from 1 to 10 can be set using the slider, but e.g. for the Erosion and Dilation functions you can set even a larger kernel by simply typing the desired number in the input field.
Iterations
This parameter controls how many times a given transformation is performed. This is used e.g. for the Erosion or Dilation functions, which are local transformations whose output changes when they’re applied to the image multiple times subsequently.
The standard values from 1 to 10 can be set using the slider, but e.g. for the Erosion and Dilation functions you can set even a larger number of iterations by simply typing the desired number in the input field.
Active
Using the ‘Active’ checkbox, the whole module can be enabled or disabled. You can also enable/disable each function individually. When a new module or individual function is created, it is automatically set as active.
Order of functions, changing layers
Individual functions are applied one after another from the top. You can change the order of the functions so that they suit your needs best, just drag and drop them to the right place. If you want to see how the image looks after applying individual active modifications (and its stages in some cases), you can change layers using the button at the top, which is set to ‘Show all layers’ by default.